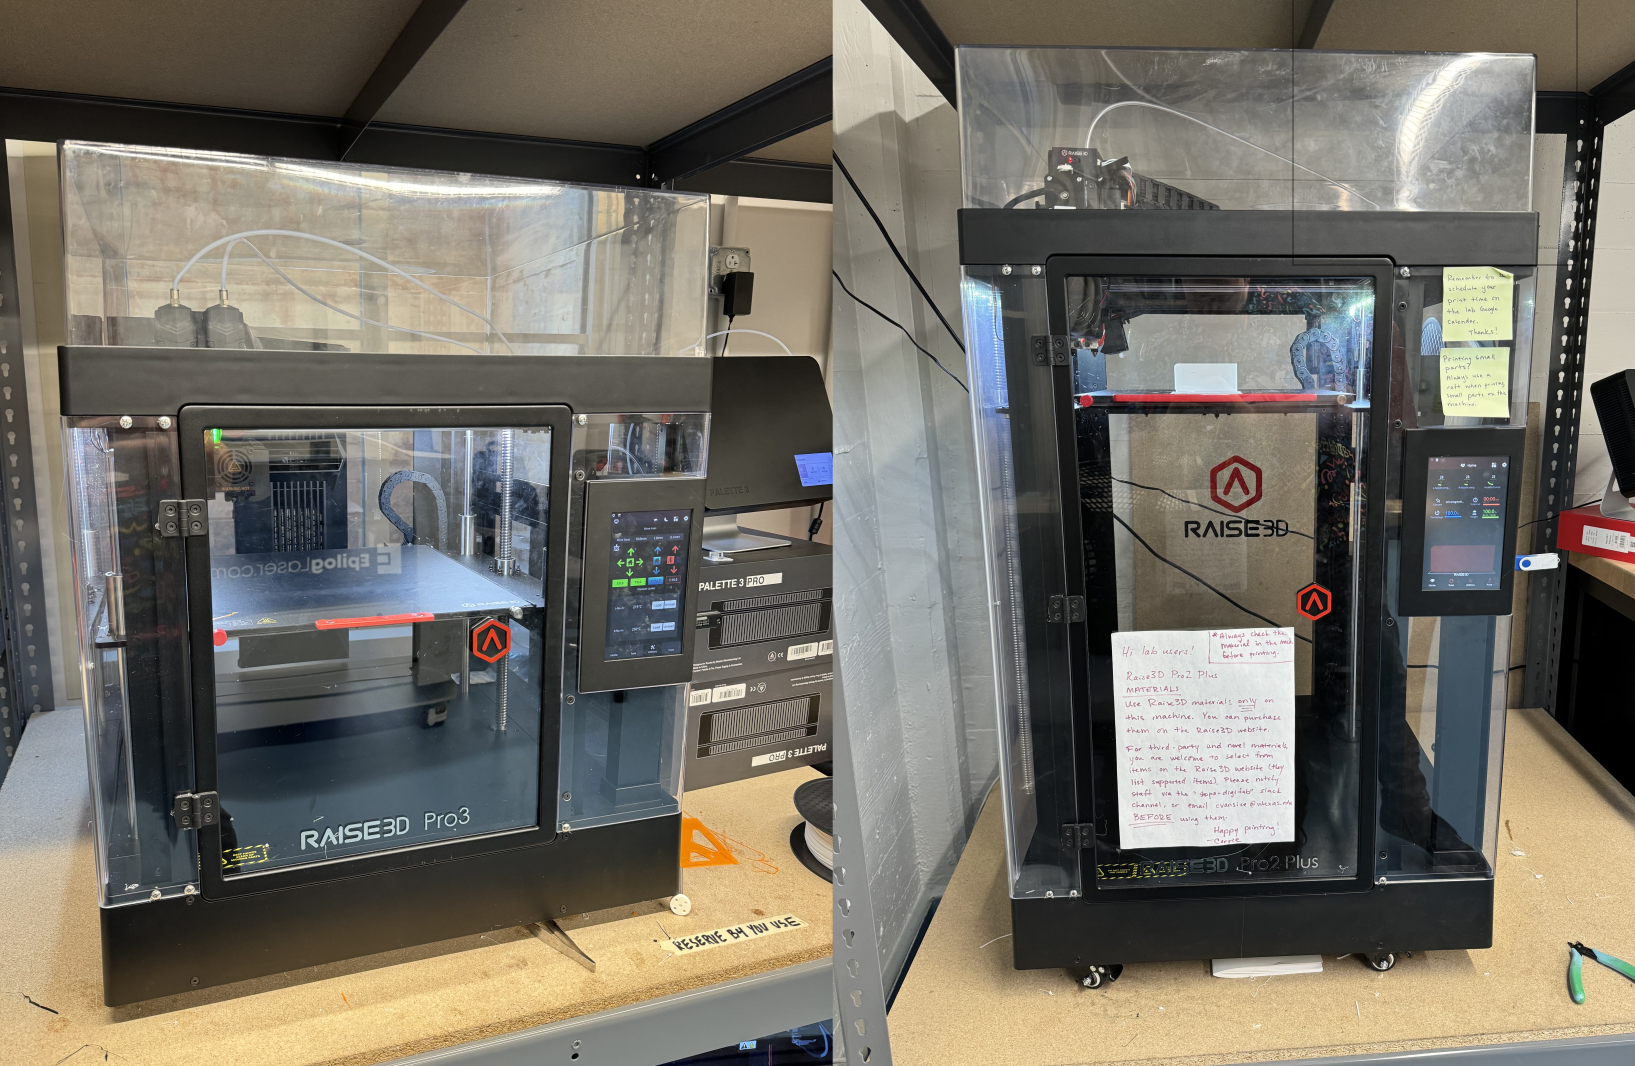
Raise3D 3D Printers

The largest printers in the DigiFab shop are the Raise3D printers. The Raise3D Pro2Plus and Pro3 are high quality FDM 3D printers with removable beds and dual extrusion capabilities.
ideaMaker Slicer Walkthrough
ideaMaker Installation
IdeaMaker is the slicer software users will use to import, set up, and then export prints for the Raise3D printers. If you already have ideaMaker installed or are using a DigiFab workstation computer, skip to step II - Importing a Model.
Install ideaMaker to your local machine: ideaMaker
ideaMaker is supported on Windows, Linux, and Mac.
Once you have installed ideaMaker, go ahead and open up the software and proceed to Importing a Model. When launching for the first time, you will need to select your printer model and settings for this device:
- Printer Type: Raise3D Pro2 Plus / Raise3D Pro3 *(Can adjust later depending on which machine you are printing with)*
- Extruder Count: 2
- Use Headed Bed: *Leave Checked*
- Left Extruder Filament: [Raise3D] PLA 1.75 mm
- Right Extruder Filament: [Raise3D] PLA 1.75 mm
Note that all of our printers in the DigiFab lab use 1.75mm filaments.
Importing a Model
To import your model, eithe select 'Import Model' and select your .STL file, or drag and drop your .STL file directly onto the ideaMaker screen. If successfully imported, your model should be seen in the ideaMaker workspace. The default extruder is the left extruder, but if you wish to change this, you can change either in the View tab or by right-clicking with the model selected.
From here, you can rotate or translate your model as needed using the tools located on the top toolbar. It may be beneficial to rotate your model to decrease printing time and required supports.
If you are importing multiple models, ensure that they are not touching. - When spacing models, it is reccomended to provide at least 10 mm of space (~1 grid square) in between each model.
Verify that all models are placed correctly on the build plate. This can be done by setting the *Z* position of each model to 0.
Slicing a Model
Once your model is setup and ready to print, select `Start Slicing`
From here, you will be presented a variety of standard slicing templates. Note that the higher the quality of print, the longer the print will take. Additionally, verify the type of filament is correct for each extruder. Proceed with the following instructions to setup print for chosen template.
**Important:** Select either `Raise3D Pro2 Plus` or `Raise3D Pro3` at the top depending on which machine you are using. The settings for each printer vary, so it is essential to select the correct printer.
Once you have validated your print settings, select `Slice`
Exporting a Model
Upon slice completion, an estimated time, cost, and filament usage will be provided. At this time, use the time estimate to reserve a spot on the google calendar. If you do not have access to the shared "AHG DigiFab 3D Printers" calendar, message the DigiFab support team to request access.
Click 'Preview'
From here, you can scrub through the print layers to validate your print. Take note of the estimated filament usage. Each spool on the Pro2-Plus can hold 1kg of filament when new. To prevent possible print failure, ensure that there is enough filament left on the spool to complete your print.
Once ready to export, select 'Export to Local Disk' and save to external USB storage device.
When naming a print, use the following naming convention:
YourName_Date_ModelName.gcode
By including your name in the print file, other users will be able to more easily reach out to you in order in the case that your print fails or runs into some other issue.
Starting a Print
Loading and Unloading Filament
Uploading your gcode File
Start Your Print
Before running a print, make sure you have the printer reserved on the google calendar. Create an event named "YourName - NameOfPrinter" and make sure it is on the DigiFab 3D Printers shared calendar (The event should turn purple if on the correct calendar).
If a previous users print is on the bed, feel free to remove it and place it to the side for them to come pick up.
With your gcode uploaded to the printer, use the touchscreen to navigate to Print. From here you should be able to see your gcode file and select it. You will see your model as well as some additional information about the print. If you are ready to print, select "Print". At this point, the printer will begin printing the model. Note that if using the Pro3, a short bed level procedure will be run before the print starts.
Removing a Finished Print
When a print is finished, it will need to be removed from the print bed. Unscrew the two bed finger-screws and remove the print bed. On the Pro3, the bed is flexible allowing the part to be easily removed without additional tools. On the Pro2Plus, a scraper may be needed to remove the part from the bed. When using a scraper, be careful not to damage the bed underneath. Once your part is removed, place the bed back and lightly tighten the screws to keep it from moving back and forth during a print.